- nextjs
- xyflow
- react-flow
- ai-agents
Building an n8n-Style Workflow Visualizer in Next.js 15
How I built the interactive agent workflow canvas on this site — @xyflow/react v12, custom nodes, a detail panel, and the two things that break React Flow if you forget them.
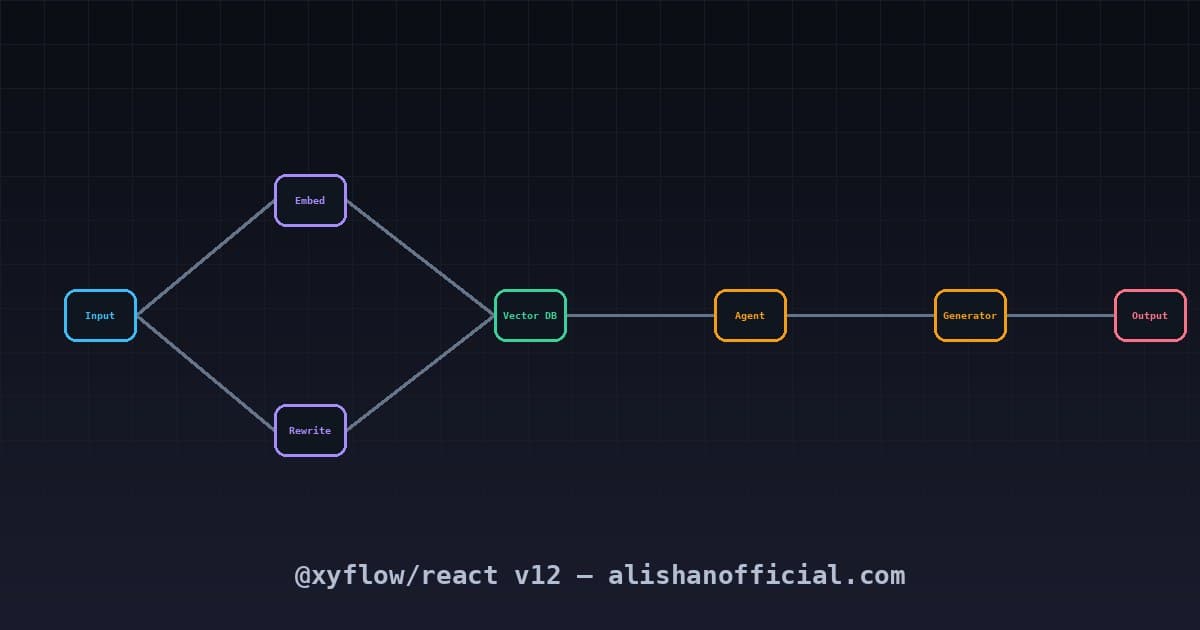
The workflows page on this site is a live canvas you can drag, zoom, and click through. Here's how it was built — and the two things that will break React Flow silently if you don't handle them.
The two silent killers
1. 'use client' is not optional.
React Flow uses browser APIs (ResizeObserver, getBoundingClientRect, scroll events).
If you render it in a Server Component, Next.js throws a cryptic module error at build
time. Every file in the React Flow tree needs "use client".
2. The parent container must have a defined height.
This is the one that wastes the most time. If the wrapper is height: auto (the default),
React Flow renders into a 0-pixel-tall container and shows nothing — no error, just a
blank rectangle. Always set an explicit height:
{/* WRONG — renders blank: */}
<div className="w-full">
  <WorkflowCanvas workflow={active} />
</div>

{/* RIGHT — explicit height on both breakpoints: */}
<div className="h-[420px] sm:hidden">
  <WorkflowCanvas workflow={active} />
</div>
<div className="hidden h-[640px] sm:block">
  <WorkflowCanvas workflow={active} />
</div>
Package choice: @xyflow/react v12
The brief specifically required @xyflow/react (the new package name), not the legacy
reactflow. They're not interchangeable — the API changed significantly in v12:
# Correct:
npm install @xyflow/react

# Do NOT use:
npm install reactflow   # legacy v11 API
In v12, useNodesState and useEdgesState return a three-element tuple —
[state, setState, onChanges] — and onNodesChange is the third element, not
destructured separately.
Custom node types
Every node type (Input, Agent, Tool, Database, Output) is a single reusable component
selected by the type field:
export type WorkflowNodeType = "input" | "agent" | "tool" | "database" | "output";

export interface WorkflowNodeData extends Record<string, unknown> {
  type: WorkflowNodeType;
  label: string;
  description: string;
  icon: string;
  detail: string; // shown in the panel on click
  tags?: string[];
}
The node type map is stable (defined outside the component) so React Flow doesn't re-register types on every render:
// Defined outside the component — MUST be stable
const nodeTypes: NodeTypes = {
  workflowNode: WorkflowNode,
};

function CanvasInner({ workflow }: { workflow: WorkflowDef }) {
  const [nodes, , onNodesChange] = useNodesState(workflow.nodes);
  // ...
  return <ReactFlow nodeTypes={nodeTypes} ... />;
}
CSS: base.css vs style.css
@xyflow/react ships two CSS files:
base.css— minimum required styles (layout, handles, edges). Import this.style.css— adds visual defaults (node backgrounds, colors) that conflict with our Tailwind theming.
Importing only base.css lets us own the visual layer entirely:
import "@xyflow/react/dist/base.css";
// NOT style.css — that overrides our theme
Architecture, not decoration
The three workflows on the canvas (RAG pipeline, customer support agent, content
automation) are real architectures I've built. Every node has a detail field that
documents the actual tool, API, prompt strategy, and latency target — not a
placeholder description.
The canvas is the documentation.